
How to create a widget designer using thunder in Sitefinity
A widget is a component of interaction like a button or a scroll bar. A specific kind of user-computer interaction is facilitated by every widget, which is visible on the applications graphical user interface. For instance, a blog post can be displayed leveraging the blogs posts widget. All that you have to do is tell the widget the number of posts, which have to be displayed on a single page, which blogs should be used and how they have to be displayed.
Follow these steps to create widget designer
Step 1: Open your project in visual studio
Step 2: Rightclick on project name and add > new item > click on sitefinity > select Designer for existing widget, give a name to that one and click on add.


.png "3-(1).png")


Follow these steps to create widget designer
Step 1: Open your project in visual studio
Step 2: Rightclick on project name and add > new item > click on sitefinity > select Designer for existing widget, give a name to that one and click on add.
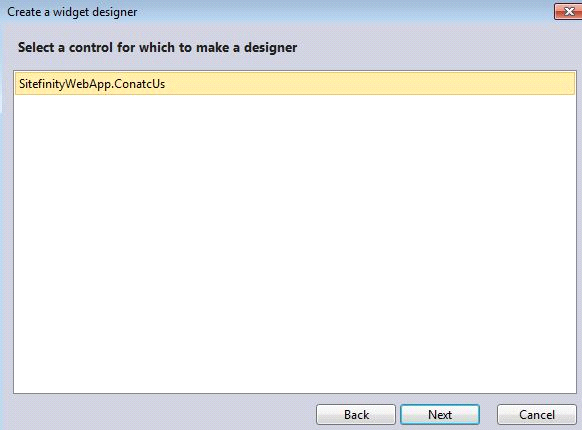
- One pop-up will come as create a widget a designer ,click on next
- That will shows your custom widgets(here mine Contact Us)
- Select one and click on next as below
- Here you can add fields to your designer
- click on next
- Finally you’ll get successful message.